自定义Icon图标
所有可配置图标的选项您都可以通过以下方式对其自定义
内置的默认图标
这些默认图标您可以直接使用: 
示例:
ts
import { loadOml2d } from 'oh-my-live2d';
const oml2d = loadoml2d({
  // ... other options
  statusBar: {
    loadingIcon: 'icon-loading'
  },
  menus: {
    items: [
      {
        id: 'Rest',
        icon: 'icon-rest',
        title: '休息',
        onClick(oml2d): void {
          // actions ...
        }
      },
      {
        id: 'SwitchModel',
        icon: 'icon-switch',
        title: '切换模型',
        onClick(oml2d): void {
          // actions ...
        }
      },
      {
        id: 'About',
        icon: 'icon-about',
        title: '关于',
        onClick(): void {
          void oml2d.loadNextModel();
        }
      }
    ],
    x
  }
});自定义
如需自定义图标, 您需要前往 阿里矢量图标库 生成 Symbol 类型的地址, 并在项目中引入后即可使用您自己的图标, 详细教程如下:
选择您需要的图标并添加至项目

依次点击: 批量操作 - 全选 - 批量去色 , 这一步是必须的, 因为我们不需要图标默认携带颜色, 否则将无法自定义图标颜色

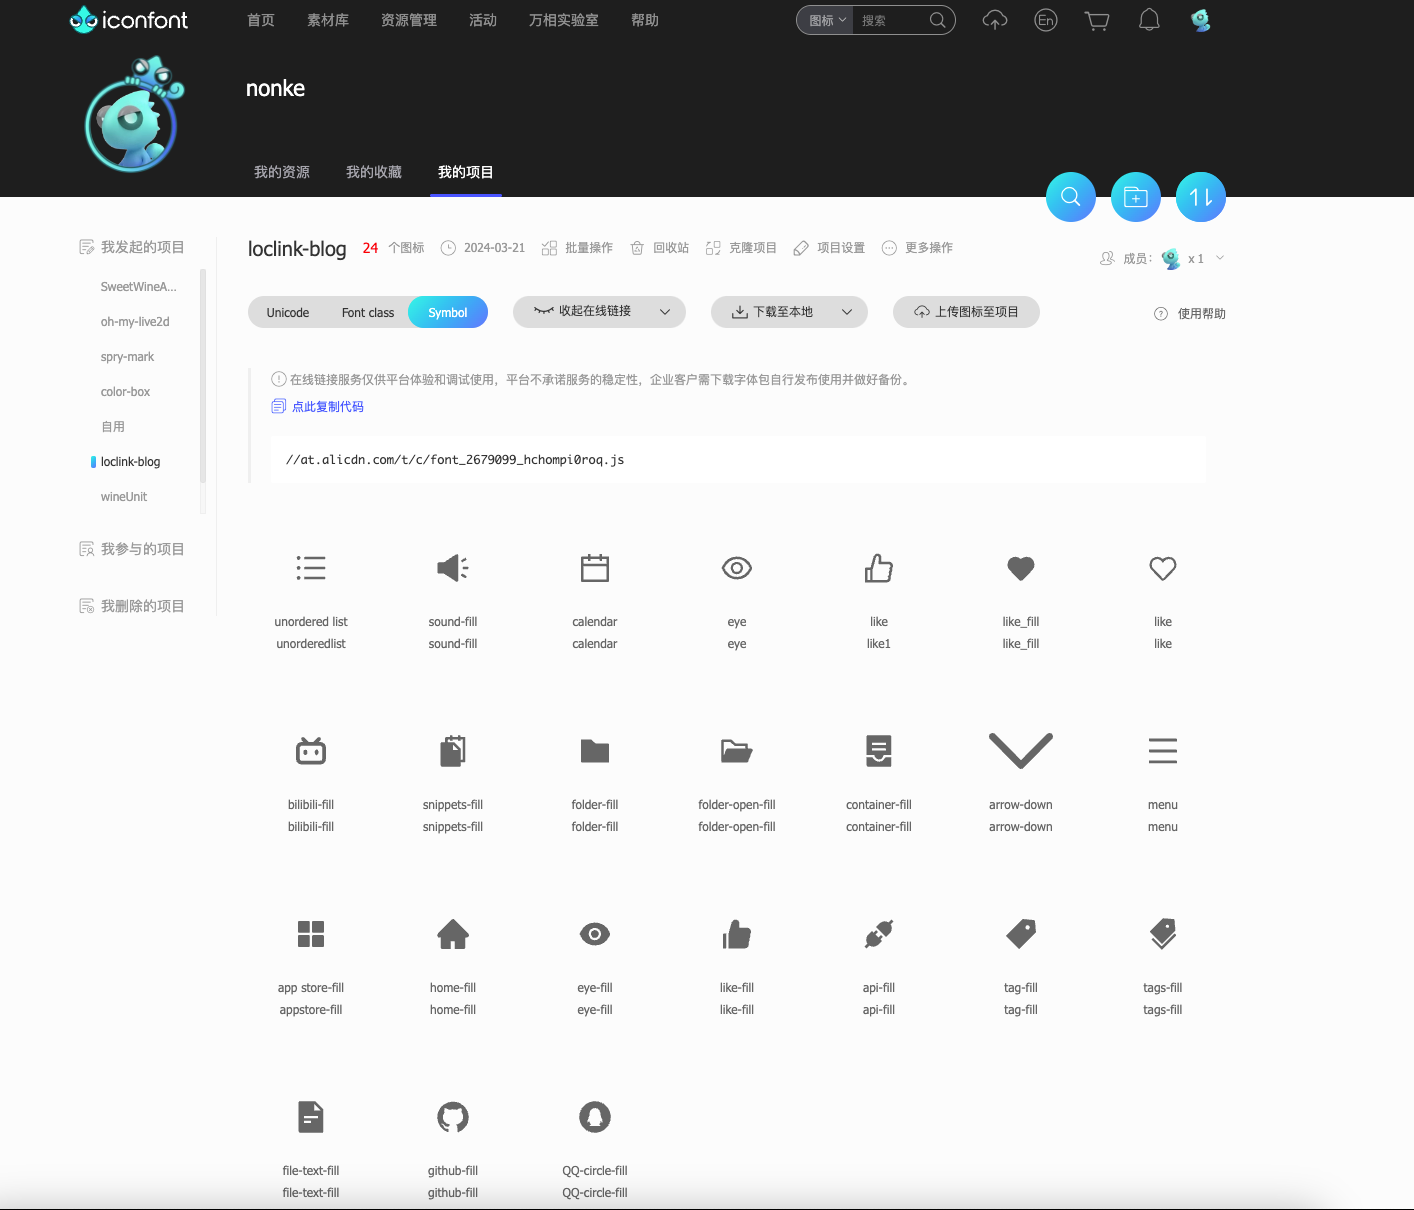
选择 Symbol 类型, 点击更新代码

点击复制代码, 或者你也可以选择下载至本地, 之后在项目中引入这个js文件即可, 以下是一个示例:
tsimport { loadOml2d } from 'oh-my-live2d'; import '//at.alicdn.com/t/c/font_2679099_hchompi0roq.js'; const oml2d = loadoml2d({ // ... other options statusBar: { loadingIcon: 'my-icon-loading' }, menus: { items: [ { id: 'github', icon: 'github-fill', title: '我的github', onClick() { window.open('https://github.com/hacxy'); } } ] } });
之后您就可以在任何可自定义图标的选项中使用您自己的图标.

